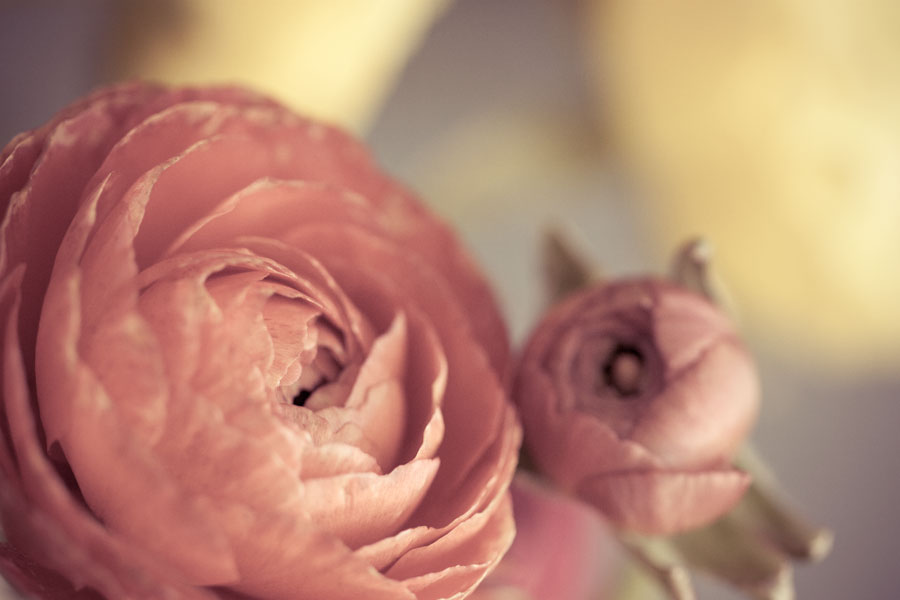
Before and after processing with texture overlays …
This edit adds layers of subtle texture to the softly coloured background of blurred petals, while brightening the image.
When I received a bunch of pretty ranunculi flowers from a work colleague, I rushed them home to photograph them & then process the images. Lately, I’ve been playing with textures quite a lot. It seems I cannot leave a photo alone!
Photoshop Texture Recipe
The original image was processed in Lightroom to change the petal colours from a vibrant deep red to a subdued orangey-red. Then, in Photoshop, I overlaid the image with textures to brighten & soften the image further. Each texture layer was duplicated several times & different layer blend modes were applied to change the effects of the texture on the layers below. This recipe assumes a level of familiarity with applying & selectively removing textures in Photoshop. If you’re not familiar with the processes involved, please check out my tutorials.
Textures
Left to Right:
Gross Green Grunge – a green fibrous paper texture
Fuchsia Weave – a subtle woven wood grain texture in hot pink
Lolly Pink – a soft light pink texture of glass beads & bokeh
(to view the textures at a larger size, click on the thumbnails below)
Recipe
- Gross Green Grunge: Luminosity 17%, Saturation 17%, Exclusion 20%, Soft Light 20% – on each layer, use a layer mask with a soft brush at 100% opacity to remove some of the texture from the petals of the foreground flower.
- Fuchsia Weave: Use a Black & White adjustment layer at 80% to desaturate the hot pink colour of the texture: Linear Light 20%, Hard Light 70%, with a layer mask to remove the texture from the foreground.
- Lolly Pink: Overlay 30%, Screen 30% Background image: Soft Light 50%, Colour 50%


